This section describes how to get started with SuperWEB2. It shows you how to login to SuperWEB2 and start viewing and creating tables.
Step 1 - Login
SuperWEB2 is a browser based application. Your system administrator will provide you with a URL or link for your SuperWEB2 installation.
The first step is to click the link that has been provided to you, or open your web browser and enter the URL in the address bar.
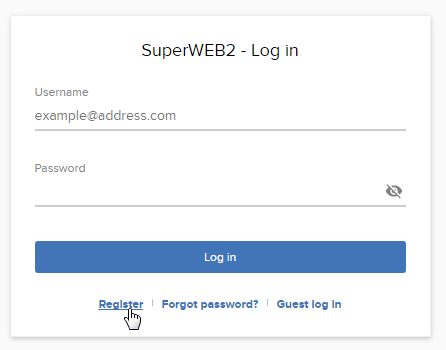
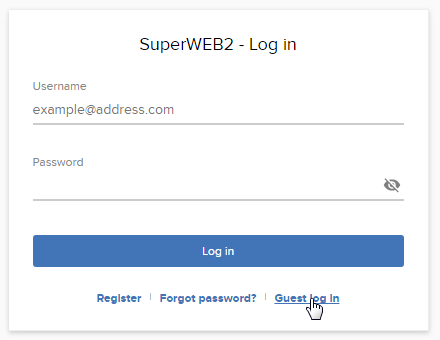
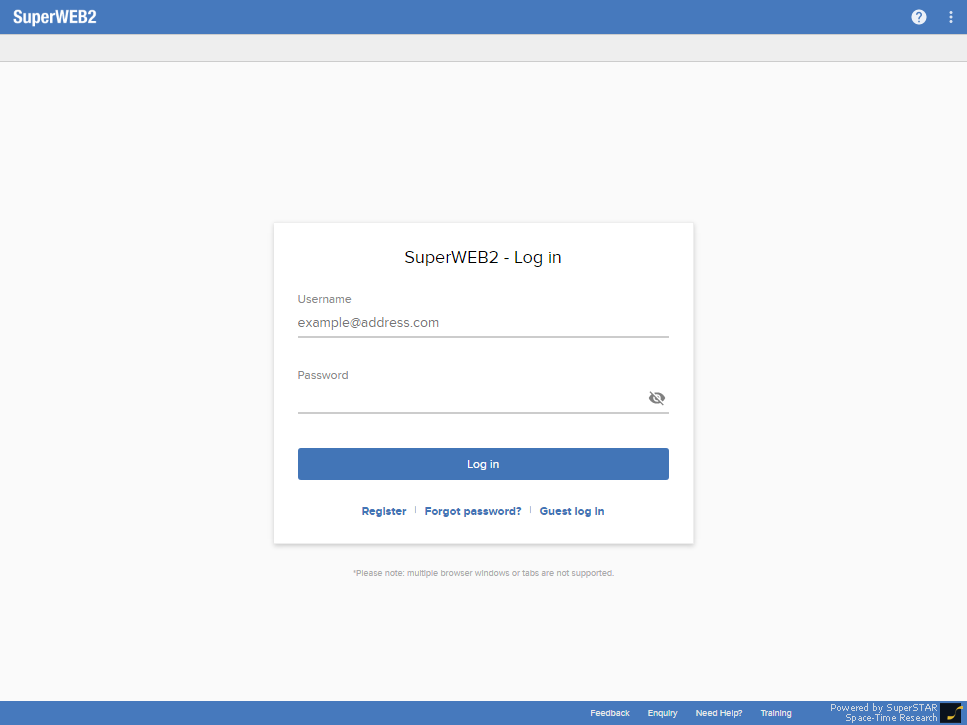
SuperWEB2 displays the login page, which will look similar to the following (although your installation may have been branded and may therefore look slightly different to this example):

If you have been given a username and password, enter the details and click Log in.
Register for an Account
If you do not have a username and password, you may be able to register for an account: if you can see a Register link, click this and follow the prompts to create a new account:
Guest User Access
If you do not have a username and password, you may be able to login as a guest user: if you can see the Guest log in option, click this to use SuperWEB2 in guest mode:

If you do not see this option then this means your administrator has disabled guest access.
I Do Not Have a Username/Password
If neither option is available and do not have a username and password, contact your system administrator to obtain access.
I Am Unable To Login
SuperWEB2 displays an error message if you enter the wrong login credentials. If you do this more than a certain number of times, your account may become locked.
If this happens you may need to contact your system administrator to have your account unlocked (this depends on how your system has been configured; it is also possible that your account may become unlocked automatically after a short period of time).
Take the Tour
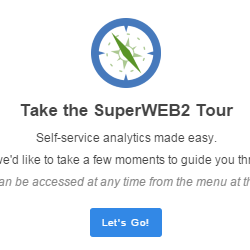
The first time you login to SuperWEB2, an interactive tour will display:
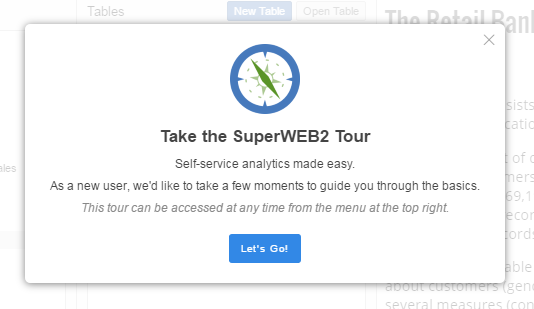
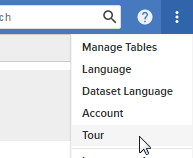
This shows you some of SuperWEB2's key features and explains how to open a dataset and build a table. If you want to view the tour again in the future, you can access it by selecting the Tour option from the menu in the top-right:

Step 2 - Select a Dataset
Once you have logged in, SuperWEB2 displays the catalogue of available datasets.
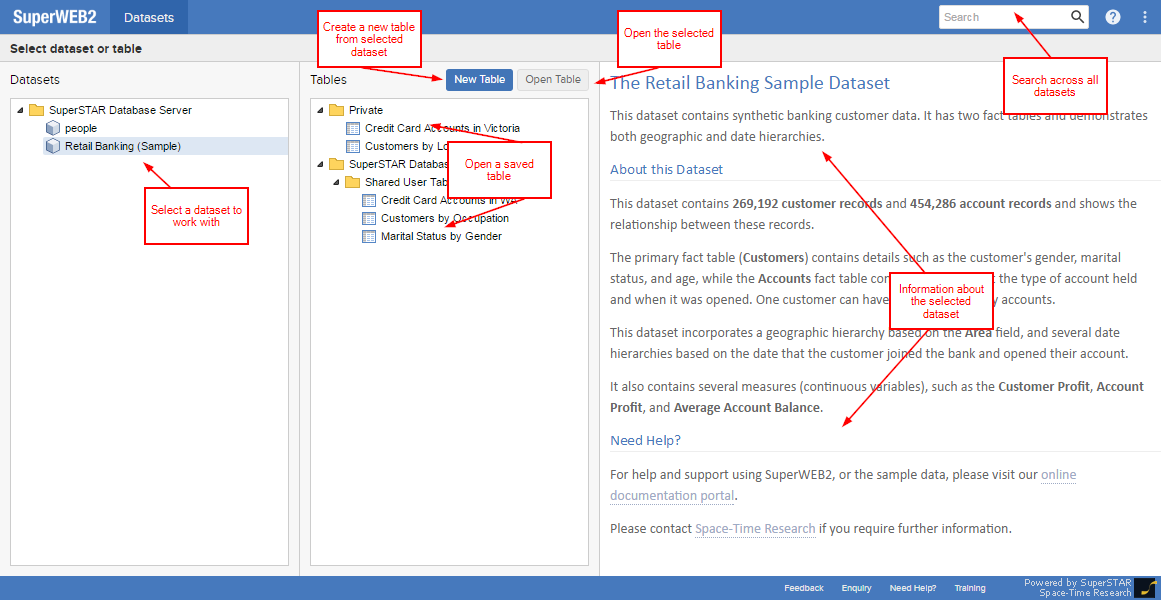
Use this screen to select the data you want to work with:
| Datasets | This list shows all the datasets that you have access to.
|
|---|---|
| Tables | This list shows all the saved tables for the selected dataset. The tables in the Private folder are accessible only to you. Other tables (either those you have previously created, or created by other users) may be accessible to other SuperWEB2 users, depending on how your administrator has set up the permissions. Double-click any of the tables to open them, or click New Table to start with a new, blank table. |
| New Table | Click to open the currently selected dataset and start creating a new table. |
| Open Table | Click to open the currently selected table. |
| Description | This section shows more information about the currently selected dataset. |
| Search | Use this to search across the saved tables and datasets. |
Locate and open the dataset or table you want to work with.
The rest of this section uses examples from the sample Retail Banking dataset.
Step 3 - Build a Table
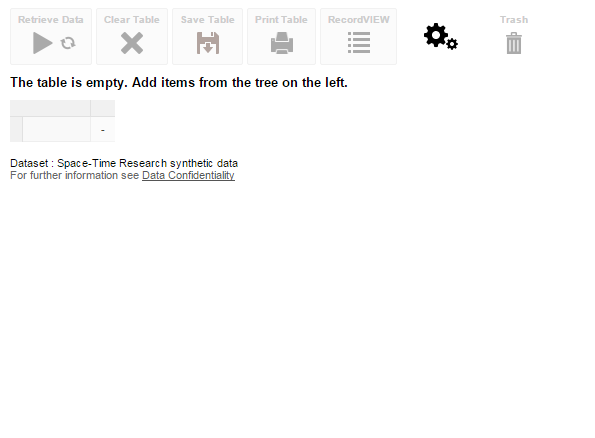
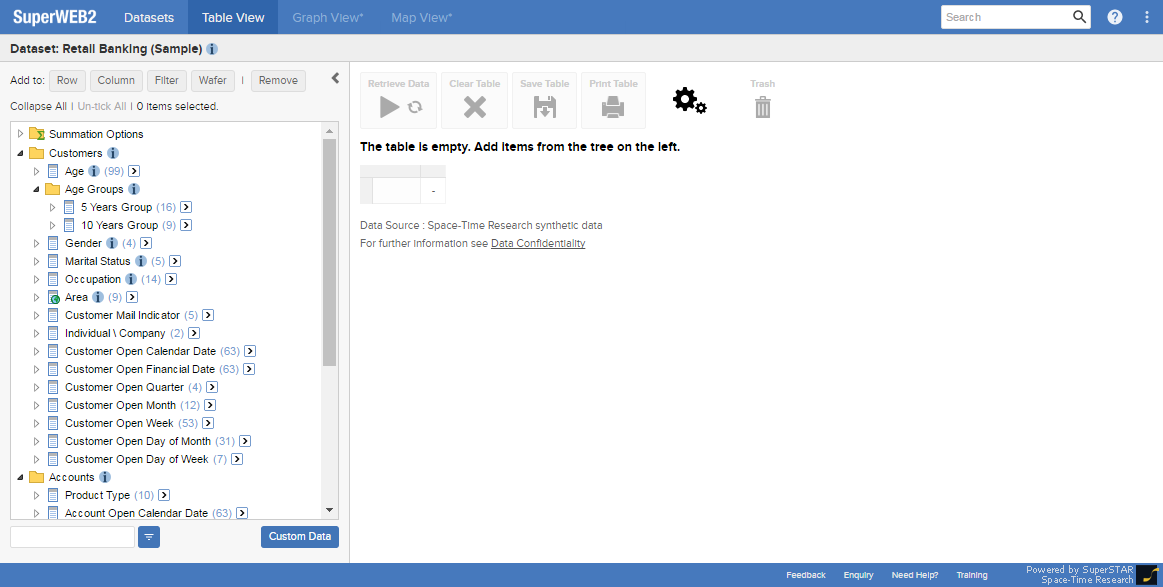
Once you have opened a dataset, SuperWEB2 displays the Table View, where you can build and modify tables.
If you decided to start creating a table from scratch, you will see an empty table:

If you decided to start with a saved table, SuperWEB2 loads your table:

The section on the left shows a list of available fields and field values that you can add to the table.

The area on the right is where your table displays. Unless you selected a saved table, this area will usually not contain any fields when you first open a dataset. The exception to this is if your administrator has configured mandatory fields or a default table. If this is the case a basic table containing all the mandatory fields, or a default table, will appear in the section on the right even if you clicked New Table or double-clicked a dataset. You can then add fields to the table, and make other changes, but depending on how your system has been configured, you may or may not be able to remove the mandatory fields from the table.
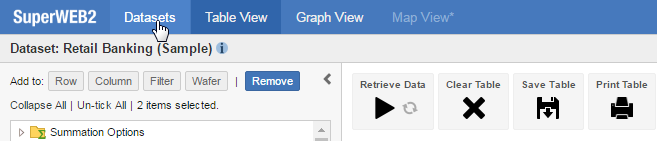
To create or update a table, select the fields you want from the list and add them to either the table rows, columns, wafers, or filters. For example (using the sample Retail Banking dataset), suppose we want to create a table with Gender in the rows and Marital Status in the columns:
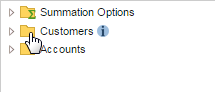
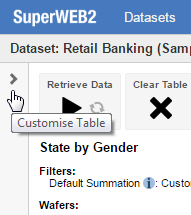
- Go to the tree on the left (click the arrow to expand the customise table panel if you do not see the tree). This is where you select the fields you want in your table. Items in the list have different icons depending on whether they are folders, fields or field items.
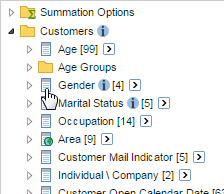
- If it is not already expanded, click the Customers folder to expand the list of available fields:

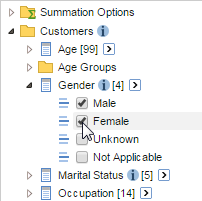
- Click Gender to expand the list of values available for this field:
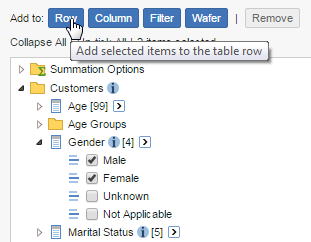
- Select the check boxes next to the values you want to add to the table, for example Male and Female:

Click Row:
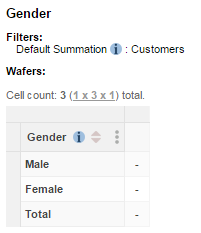
SuperWEB2 adds these values to the table:

When you add the first field values to the table, SuperWEB2 also adds the default summation, so that your table has something to measure. Typically the default summation will be something like a count. For Retail Banking the default summation option is to count the number of customers.
Next we will add the Marital Status field to the column headings. This time, as an alternative to selecting the values we want, we will use a shortcut: you can quickly add all the available values in a particular field just by dragging and dropping.
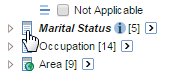
Click and drag the Marital Status field towards the table. As you start to do this, the Column, Row and Wafer options appear:

In this case we want to add this field to the columns. Drop the field onto Column.
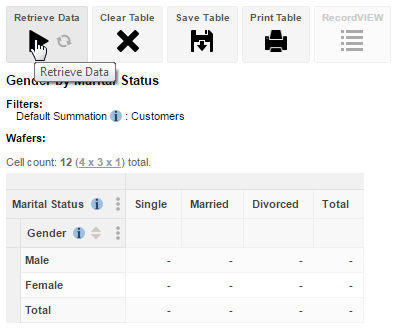
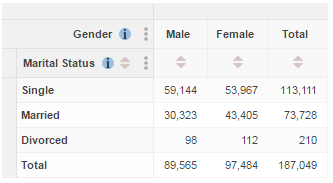
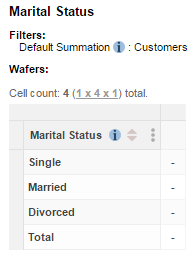
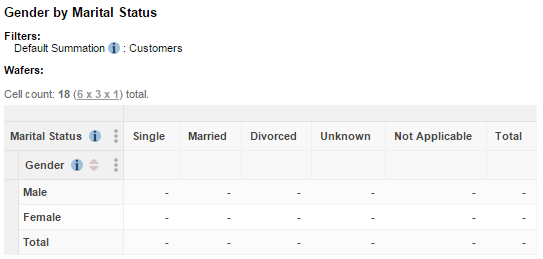
SuperWEB2 adds all the available values from Marital Status to the column headings:

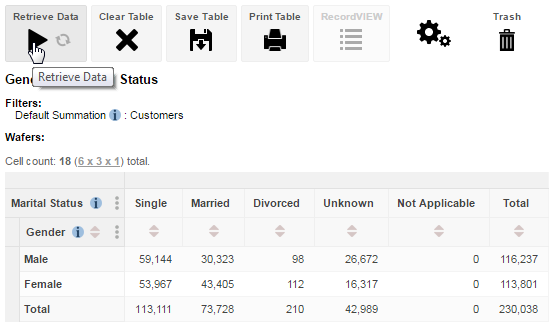
- Click Retrieve Data to perform the cross tabulation:

Step 4 - Modify the Table
Now that we have created a basic table, there are a number of changes we could make. The following are just some examples.
Remove Some Values
Suppose we have decided that we do not want to include all the values of the Marital Status field in the table. We can use the tree on the left to remove individual field values.
For example:
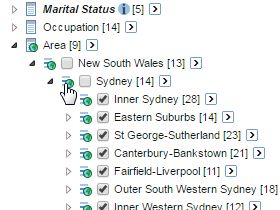
- Click the icon to expand Marital Status if it is not already expanded:
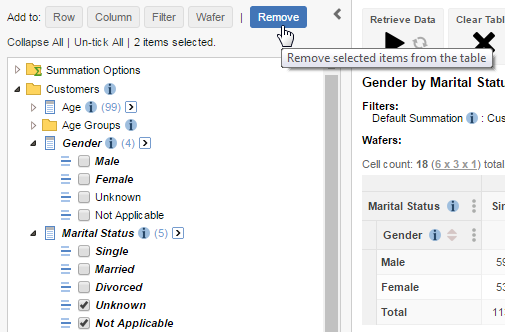
The field values that are currently in the table appear in bold and italics (in this case, all the values are in the table, because we used the drag and drop functionality to add them all):
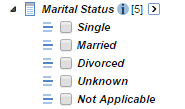
- Select the check boxes for the values you want to remove from the table (for example Unknown and Not Applicable), then click Remove.

SuperWEB2 removes these values from the table. - Click Retrieve Data again to repeat the cross tabulation:
Move a Field to a Different Axis
Suppose you want to swap the columns and rows. Simply drag and drop the field names from within the table.
For example:
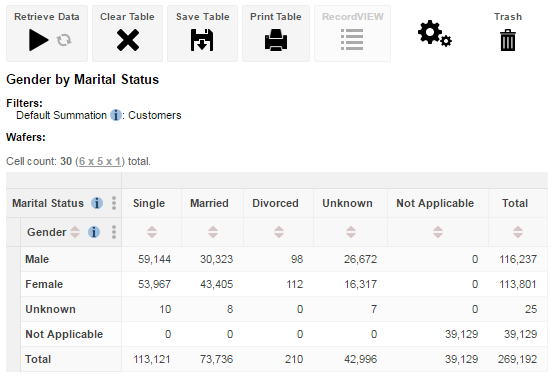
- Drag and drop the Gender field name onto the column headings:
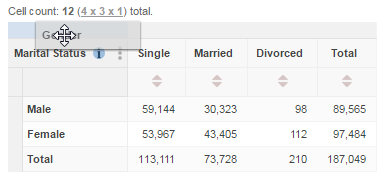
This adds Gender to the column headings. As Marital Status was already in the column headings, it is nested beneath Gender:

- Now drag the Marital Status field name onto the rows:

The table updates:

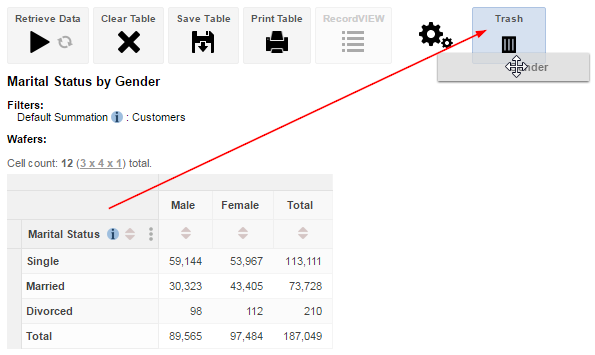
Remove a Field Entirely
The easiest way to remove an entire field from the table, is to drag and drop the field name onto the bin/trash icon:

SuperWEB2 removes the entire field from the table:

Use the Select All At Level Drop-Down List
Another way to add a field to a table is to use the Select all at level drop-down list to quickly select a large number of field values. This is particularly useful for hierarchical fields where you can choose to select all the items at a particular level in the hierarchy.
For example:
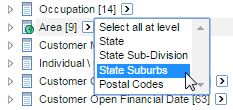
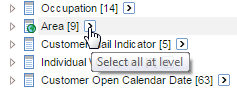
- Click the arrow to the right of the Area field:

A drop-down list appears:

- Select State Suburbs from the drop-down list. SuperWEB2 will select all the available values at this level in the hierarchy:
If you expand the Area field you can see that SuperWEB2 has selected all the available values at this level in the hierarchy. At the top of the tree, SuperWEB2 also tells you how many items are currently selected (in this case, 203 items):
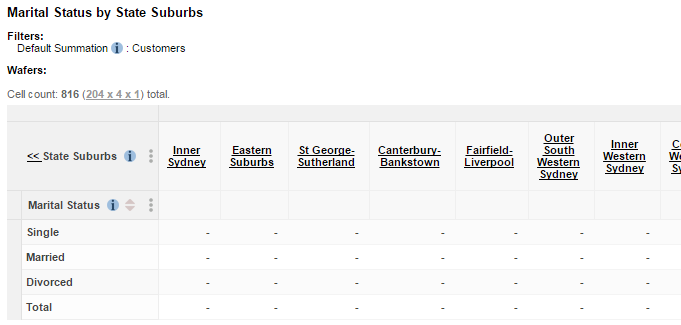
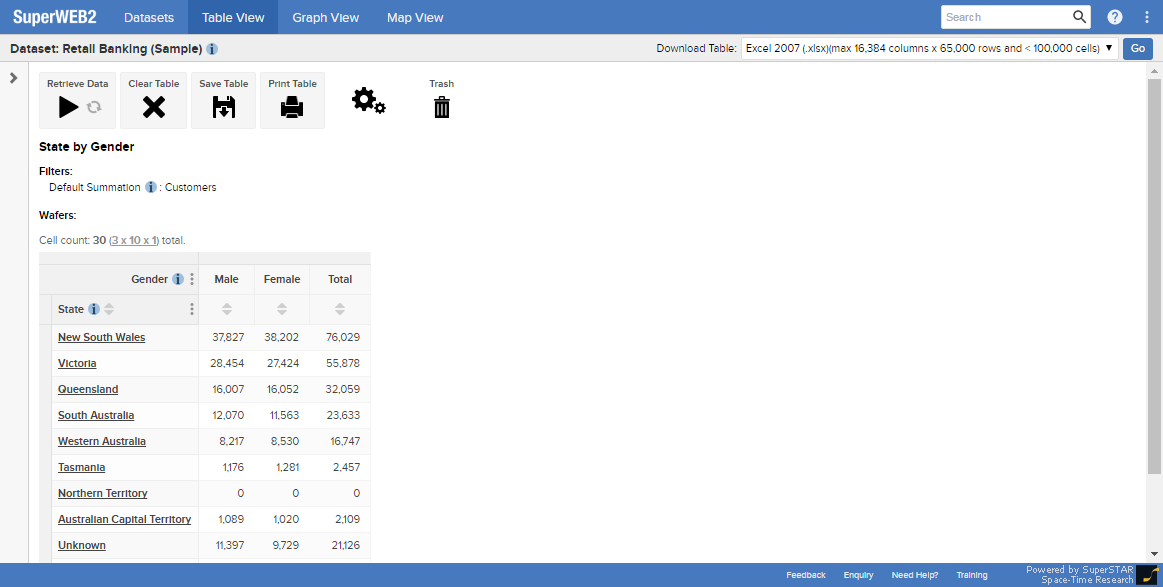
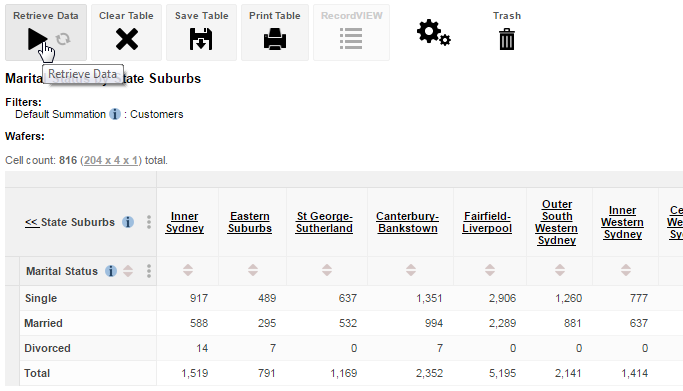
- Click Add to Column. SuperWEB2 adds all the selected values to the column headings:

- Click Retrieve Data to perform the cross tabulation:

Clear the Table and Start Again
To clear the table and start again:
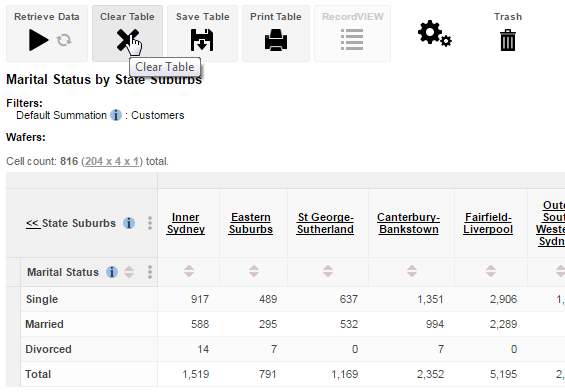
Click the Clear Table icon:

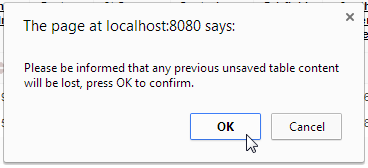
SuperWEB2 will prompt you to confirm that you want to delete the table.
Click OK:
SuperWEB2 clears the table:
Use Shift-Click to Quickly Select Multiple Field Values
Another way you can quickly select multiple field values is to use Shift-click. This will select a range of field values.
For example, suppose you want to add all values of the Age field from 18 to 45:
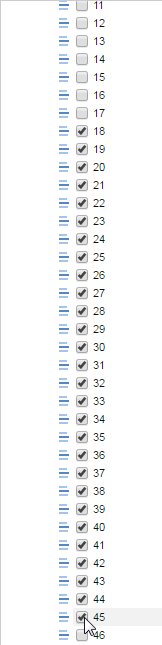
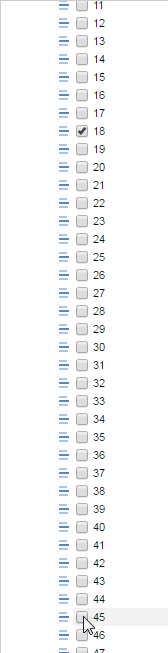
In the tree, expand the Age field and select the first item in the range (in this case, 18):
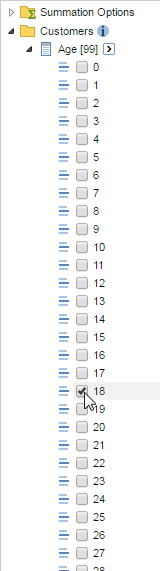
Hold down the Shift key and click the last item in the range (in this case, 45):

SuperWEB2 automatically selects all the field values in between:

You can now click Add to Row or Add to Column to add the values to the table:

Switch to a Different Dataset
If you decide you want to switch to work with a different dataset, click the Datasets link in the top left:

Next Steps...
This section has explained how to get started with SuperWEB2. Now that you know how to login and create a simple table, see the following sections to learn more about what else you can do:
- Learn about adding totals and viewing percentages.
- Learn about the different ways you can add multiple fields to a single axis.
- Learn about the available summation options.
- When you have created a table, you can:
